Creating a New Patient Folder using PrescribeIT®
When you receive an incoming PrescribeIT® transaction or Clinical Communication from a prescriber for a patient that does not have an existing Patient Folder, you can create one with the Patient Compare feature.
Patient synchronization can occur from:
-
The Intake window
-
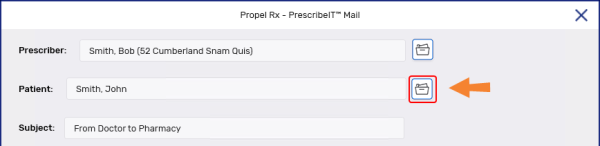
Incoming Clinical Communication from the Mail window
To create a new Patient Folder using information from the incoming PrescribeIT® transaction:
-
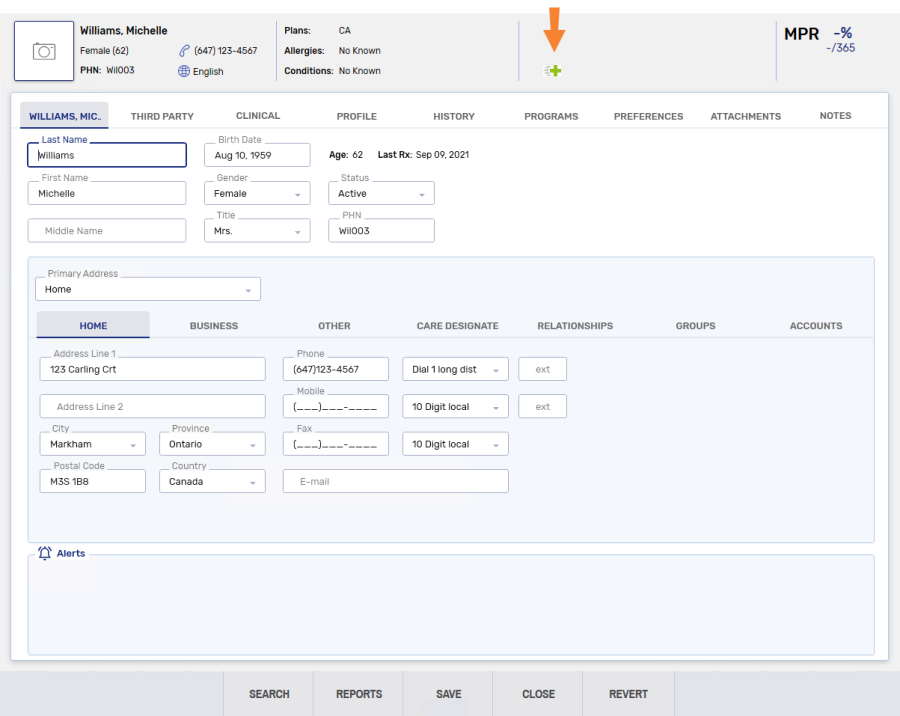
From either the Intake or the Mail window, select the folder icon
 .
.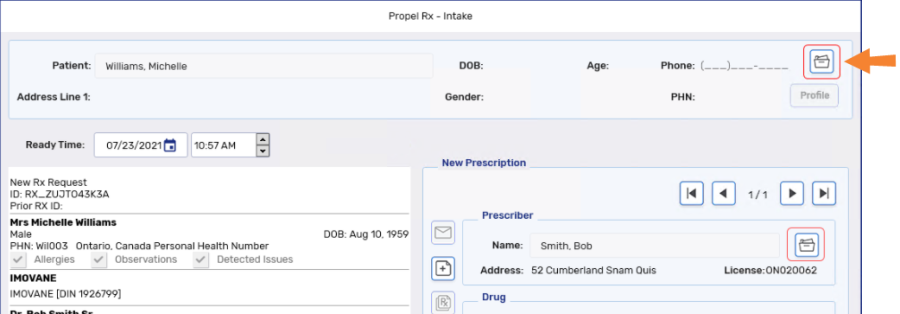
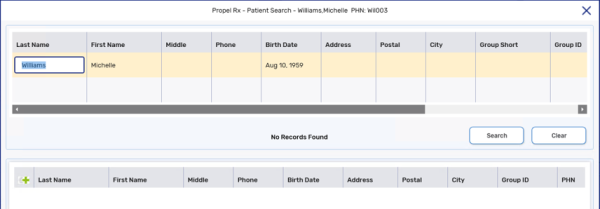
The Patient Search window opens with the following auto-populated based on the information from the incoming PrescribeIT® transaction:
-
Last Name
-
First Name
-
Birth Date
-
Middle Name
-
PHN
A search is automatically performed with this information.
-
-
Select New. The Patient Folder opens followed by the Patient Compare window. For more information, see Patient Compare Window Overview
-
Compare the information in the PrescribeIT® panel to the Propel Rx panel.
-
Highlight any field(s) in the PrescribeIT® panel that are required to create the Patient Folder in Propel Rx.
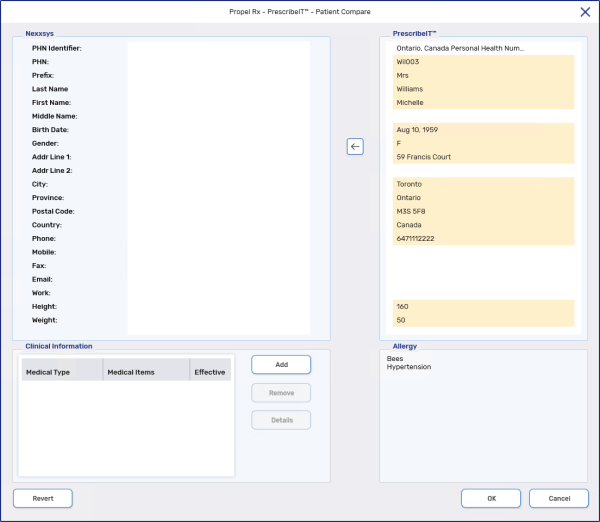
Hold the CTRL button on your keyboard to select more than one row.
-
Select the arrow icon
 to update the Propel Rx panel.
 -
Review the Allergy section to determine if medical allergies and conditions need to be updated. For more information, see Adding an Allergy or Condition from a PrescribeIT® Transaction.
-
Select OK.
Once synchronized, the Propel RxPatient Folder is updated with the selected information and displays the PrescribeIT® icon.
Related Topics
Patient Folder Synchronization
Synchronizing an Existing Patient Folder with PrescribeIT®
Creating a New Patient Folder using PrescribeIT®
Adding an Allergy or Condition from a PrescribeIT® Transaction
Updating a PrescribeIT®-Synchronized Patient Folder